Best Sonar Settings for Locating Lake Trout
Trying to hunt down those elusive lake trout in Colorado's vast, deep reservoirs can feel like searching for a needle in a haystack. Many anglers spend hours cruising the water, frustrated by blank screens or ambiguous readings, wondering if they're even in the right spot. This guide is here to demystify your sonar unit, helping you fine-tune its settings to confidently locate those deep-dwelling lakers and dramatically improve your chances of a successful day on the water.
Getting Started with Your Sonar: The Basics of Finding Lake Trout
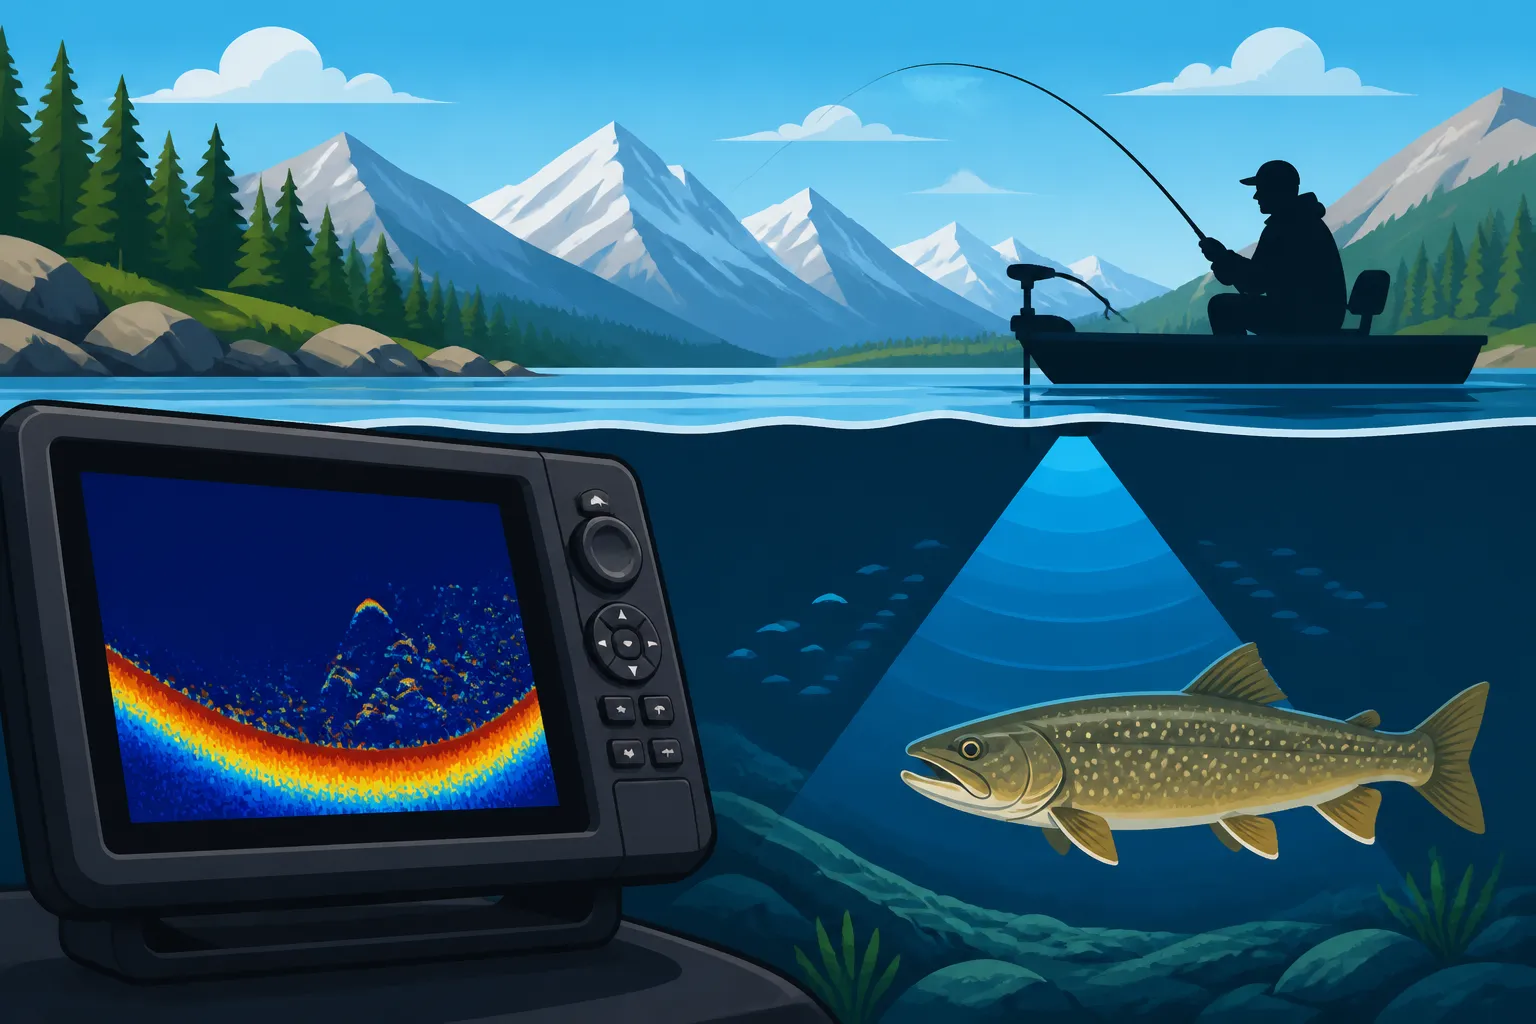
Before we dive into the nitty-gritty settings, it’s helpful to understand the different types of sonar technology at your fingertips and how they contribute to finding lake trout. These powerful tools send sound waves into the water, and by interpreting the echoes, they paint a picture of what's beneath your boat. In Colorado's large, clear reservoirs like Blue Mesa or Granby, understanding these basics is paramount.
Understanding Your Transducer and Cone Angle
Your transducer is the unsung hero of your sonar setup. It's the part that actually sends and receives the sound waves. The "cone angle" refers to the width of the sonar beam it emits. Think of it like a flashlight beam: a narrow cone gives you very precise detail in a small area, while a wider cone covers more ground but with less detail. For deep-water lake trout, often suspended or hugging steep drop-offs, selecting the right transducer or understanding your current one is crucial.
Typically, transducers offer multiple frequencies, each with a different cone angle. Lower frequencies (like 50 kHz) generally provide a wider cone and better deep-water penetration, excellent for searching large areas for fish. Higher frequencies (like 200 kHz or 83 kHz) offer a narrower cone and higher detail, perfect for pinpointing fish once you've located a promising area. Many modern units, including popular models you might find on Amazon, come with multi-frequency transducers, giving you versatility. Getting familiar with your specific unit’s capabilities is the first step toward effective lake trout detection.
The Power of Different Sonar Views
Modern fish finders aren't just about the traditional 2D sonar anymore. You've got a whole suite of viewing options, each offering unique advantages when targeting lake trout, which often hold in distinct patterns.
- 2D Sonar (Traditional): This is the classic view, showing fish arches, structure, and bottom composition in real-time. It’s excellent for identifying individual fish or schools, especially when they’re suspended. The trick here is learning to differentiate a lake trout's strong, distinct arch from smaller fish or baitballs. You'll be looking for those big, bold arches that signify a substantial fish.
- Down Imaging/DownScan: This technology provides a photo-like image directly below your boat, making it easier to identify submerged timber, rock piles, or ledges where lake trout might be ambushing prey. It's not as good for seeing fish arches, but it excels at revealing the structure that holds the fish. Imagine seeing the exact shape of a submerged tree with a laker tucked beside it – that's the power of DownScan.
- Side Imaging/SideScan: This is a game-changer for covering vast expanses of water quickly. It sends beams out to the sides of your boat, scanning hundreds of feet to port and starboard. This is invaluable when searching for points, reefs, or transition areas far from your boat, often key locations for lake trout. You can literally see a whole underwater landscape, including distant schools of fish or large individual marks, without having to drive directly over them. This is particularly useful in massive reservoirs where fish can be scattered.
Learning to toggle between these views, or even using split-screen options, will give you a comprehensive understanding of the underwater world and greatly increase your efficiency in finding these deep-water predators.
Dialing In Your Settings: Frequency, Sensitivity, and Range
Once you understand the basic sonar views, the real magic happens when you start adjusting the specific settings to optimize for Colorado's lake trout environments. These fish often prefer specific depths and structures, and getting your sonar dialed in correctly is crucial to seeing them clearly.
Choosing the Right Frequency
This is one of the most fundamental settings for deep-water fishing. Most units allow you to select a frequency or run multiple simultaneously.
- Low Frequencies (e.g., 50 kHz): This is your long-range search tool. Low frequencies penetrate deeper water better and spread out in a wider cone angle. This means you're covering a larger area of the bottom and water column. If you're on a massive body of water like Blue Mesa Reservoir, trying to locate active fish over hundreds of feet of water, 50 kHz is your starting point for general scanning. The trade-off is less detail; small fish might be missed, and returns might appear fuzzier. This is like using a wide-beam floodlight to see a whole field.
- High Frequencies (e.g., 200 kHz): When you've found a promising area or are working a specific piece of structure, switch to or incorporate a higher frequency. 200 kHz offers a narrower cone and much greater detail. You'll see individual fish much more clearly, and their arches will be crisp. This is excellent for identifying bottom composition, distinguishing a fish from a rock, or seeing your downrigger ball and bait clearly. Think of this as a spotlight, giving you sharp focus on a specific area.
- Medium Frequencies (e.g., 83 kHz): Some units also offer frequencies like 83 kHz, which provide a good balance between depth penetration and detail. This can be a great all-around frequency for many Colorado lakes, especially if you're not fishing extreme depths or prefer a single-frequency approach.
Many anglers find success running a split-screen with both 50 kHz and 200 kHz views, giving them both broad coverage and pinpoint detail simultaneously. You might see a faint return on 50 kHz, then switch to 200 kHz to get a better look.
Optimizing Sensitivity for Clarity
Sensitivity (sometimes called Gain) controls how much detail your sonar unit displays. It's a balance: too low, and you'll miss fish and structure; too high, and your screen will be cluttered with noise, making it impossible to distinguish real targets.
- Finding the Sweet Spot: Start by increasing your sensitivity until you begin to see a lot of clutter or "snow" on the screen. Then, back it off just slightly until the screen clears up, but you still have a strong bottom return and visible baitfish or thermoclines if present. This ensures you're picking up as many echoes as possible without overwhelming the display.
- Environmental Factors: Sensitivity adjustments are often needed as conditions change. If the water gets choppier, or you're moving into an area with more suspended debris (like after a heavy rain), you might need to lower it. Conversely, in calm, clear water, you might be able to bump it up a bit more. Lake trout can be incredibly subtle on sonar, especially when hugging the bottom, so a finely tuned sensitivity is critical.
- Auto vs. Manual: While most units have an "Auto" sensitivity setting, experienced anglers often prefer manual control. The "Auto" setting can sometimes filter out faint returns that might be big lake trout, especially if they're holding tight to structure or in the "cone of silence" directly beneath your transducer in deep water.
Setting Your Range and Zoom
The range setting dictates the total depth range displayed on your screen, while zoom allows you to magnify a specific section of the water column.
- Optimal Range: When searching for lake trout, set your range so that the bottom is clearly visible, but you also have plenty of water column above it. If you're fishing in 150 feet of water, setting your range to 200 feet might be a good starting point. This ensures you're not missing fish suspended high in the water column or hugging contour lines.
- Strategic Zoom: Once you've marked fish or are working a specific depth, use the zoom feature. If you know lake trout are consistently holding between 80 and 120 feet, zoom in on that section of the water column. This expands those 40 feet to fill your entire screen, making it much easier to see subtle arches, baitfish, and the exact relationship between fish and structure. Some units also offer a "bottom lock" zoom, which keeps the bottom always visible, regardless of boat movement, and magnifies the area directly above it, which is fantastic for bottom-oriented lakers.
- Importance for Downriggers: If you're trolling with downriggers for lake trout or even Kokanee Salmon Fishing in Colorado, zooming in on your target depth is invaluable. It allows you to see your downrigger ball and your lures in relation to the fish, ensuring you're presenting your bait at the ideal depth.
Remember, every body of water and even different spots on the same lake will have unique characteristics. Don't be afraid to constantly adjust these settings as you move and as conditions change.
Deciphering the Screen: What Lake Trout and Structure Look Like
Seeing is one thing, understanding what you're seeing is another. Interpreting your sonar screen takes practice, but once you learn to recognize the tell-tale signs, finding those Colorado lake trout becomes a much more informed process.
Identifying Fish Arches and Marks
Lake trout, especially the larger ones found in Colorado, typically create strong, distinct returns on your 2D sonar screen.
- The Classic Arch: A perfect fish arch is formed when a fish swims through your sonar cone from one side to the other. The deeper the fish, the longer it's in the cone, and the longer the arch. A thick, well-defined arch usually indicates a larger fish. Lake trout often produce these prominent arches.
- Suspended vs. Bottom-Oriented: Watch for fish suspended in the water column, particularly over deep basins or near baitfish schools. These are often actively feeding fish. Equally important are fish holding tight to the bottom. If your bottom return thickens or you see a "double echo" (a faint second bottom line), it can sometimes indicate fish hugging the bottom. On DownScan, these might appear as dark blobs or shadows on the structure itself.
- Distinguishing Species: While sonar can't tell you the exact species, you can often infer. A solitary, large, deep arch is more likely a lake trout than a school of smaller Kokanee. If you see dense clouds of tiny marks, those are almost certainly baitfish, and where there's bait, there are often predators like lake trout nearby. You can reference resources like "Colorado's Trout Species, A Field Guide" to get a better idea of what you might be targeting.
Recognizing Key Structures and Depth Changes
Lake trout are structure-oriented fish, and finding good structure is often the first step to finding the fish. Your sonar is an invaluable tool for this.
- Drop-Offs and Ledges: These are prime lake trout highways. Look for abrupt changes in bottom depth on your 2D sonar or distinct lines and shadows on your DownScan/SideScan. Lake trout will patrol these edges, moving up and down to feed. Using your SideScan, you can often see an entire ledge system stretching out from your boat. Understanding how to find these is key to "How to Find Drop-Offs on a Colorado Reservoir".
- Underwater Humps and Islands: Isolated humps or submerged islands, especially those topping out in deeper water, are magnets for lake trout. They provide cover and ambush points. Your sonar will show the gradual rise and fall of these features.
- Points and Submerged Timber: Points extending into deep water are always worth investigating. Submerged timber (trees or brush piles) also offers excellent cover, especially on reservoirs with fluctuating water levels. DownScan is particularly effective at resolving these intricate structures.
- Bottom Composition: Your 2D sonar can even give you clues about the bottom. A hard, jagged return usually indicates rock or gravel, while a softer, thicker return suggests mud or silt. Lake trout often prefer hard-bottom areas or rocky transitions.
By diligently observing these patterns and understanding how lake trout relate to their environment, you'll start to build a mental map of the underwater world and anticipate where the fish will be.
Beyond the Basics: Advanced Tips for Tricky Situations
Even with perfect settings, sometimes lake trout remain elusive. Here are some advanced tips and troubleshooting ideas for those challenging Colorado fishing days.
Leveraging Chartplotter Integration and Waypoints
Modern sonar units are often integrated with GPS and chartplotters, which is a massive advantage for lake trout fishing.
- Mapping Key Spots: As you find promising structure or mark fish, save waypoints. This sounds simple, but it's often overlooked. Mark the precise location of a submerged hump, a significant drop-off, or where you hooked a fish. Over time, you'll build a personal library of productive lake trout spots.
- Following Contours: Use your chartplotter's contour maps (many units come pre-loaded or allow you to download detailed maps) to drive precisely along specific depth contours. Lake trout often relate to these depths, and being able to hold a consistent line while watching your sonar is incredibly effective. For instance, if you're marking fish at 100 feet, you can set your boat to follow the 100-foot contour.
- Creating Your Own Maps: Some high-end units allow you to create your own custom contour maps in real-time as you drive. This can be invaluable for exploring new areas or finding subtle features not present on standard maps. Many manufacturers, like Garmin or Lowrance, offer community mapping features where users can share and download maps, some even available through platforms like Amazon.
Understanding the Thermocline
In many deep Colorado reservoirs, a thermocline forms during the summer months. This is a distinct layer in the water where the temperature changes rapidly.
- Oxygen Levels: Below the thermocline, oxygen levels often drop, making it inhospitable for most fish, including lake trout. Above it, water can be too warm. Lake trout will often hold just above or within the thermocline, where temperatures are ideal, and baitfish are concentrated.
- Sonar Appearance: On your 2D sonar, a thermocline will often appear as a hazy or soft horizontal line across the screen. Once you identify it, you have a critical depth range to focus your efforts. If you see fish below the thermocline, they might be scattered or lethargic due to low oxygen. Concentrating your fishing efforts right around this band can be a game-changer. This information is especially important when considering "How Deep Lake Trout Hold in Summer".
Troubleshooting Common Sonar Issues
Even the best sonar can act up. Knowing how to troubleshoot helps keep you on the fish.
- Cluttered Screen: If your screen is too noisy, your sensitivity is likely too high. Reduce it gradually. Electrical interference from other electronics on your boat can also cause clutter, so try turning off other devices if the problem persists.
- Weak or Lost Bottom Signal: If you're losing the bottom or getting a very weak signal in deep water, first check your frequency. Ensure you're using a lower frequency (like 50 kHz). Also, inspect your transducer for fouling (weeds, debris), damage, or if it's pointing correctly. Sometimes the transducer might be cavitating (getting air bubbles around it) if you're moving too fast or if it's improperly mounted.
- Phantom Fish: Are you seeing fish that just aren't there? Sometimes debris, air bubbles, or even thermoclines can be misinterpreted as fish. Look for distinct arches. If you see consistent, small, uniform marks that don't look like typical fish arches, it could be plankton or other suspended particles. Adjusting sensitivity and reviewing your different sonar views (2D vs. DownScan) can help differentiate.
- Interference with Other Boats: In crowded fishing areas, especially on popular Colorado spots like Eleven Mile State Park or Blue Mesa, sonar from other boats can interfere with yours. If your screen suddenly gets erratic, try changing your sonar frequency if your unit allows, or adjusting your noise rejection settings.
Mastering your sonar is an ongoing process, but by understanding these settings and interpretations, you'll be well on your way to consistently finding and catching those impressive Colorado lake trout. Don't forget that using your sonar in conjunction with understanding broader patterns like "Colorado Fishing Seasons Month by Month" and specific regulations like "Colorado Gold Medal Water Regulations Explained" will make you an even more effective angler.
Sonar Frequency Comparison for Lake Trout
Here's a quick look at common sonar frequencies and their ideal applications for targeting lake trout:
| Sonar Frequency (kHz) | Cone Angle (Typical) | Depth Penetration | Detail Level | Best Use for Lake Trout |
|---|---|---|---|---|
| 50 | Wider | Excellent (Deep) | Lower | Broad search in very deep water, initial fish finding |
| 83 | Medium | Good (Mid-Depth) | Medium | General purpose, good balance of coverage and detail |
| 200 | Narrower | Fair (Shallow-Mid) | Excellent | Pinpointing individual fish, bottom composition, lures |
| 455/800+ (DownScan/SideScan) | Very Narrow (Front-to-Back) | Good (Mid-Depth) | Superb | Identifying structure, differentiating fish from rocks, wide area scanning |
Armed with this knowledge and a bit of practice, you'll be able to unlock the secrets beneath the surface and connect with more lake trout on your next Colorado adventure!
Disclaimer
This article is for general informational purposes only and does not constitute professional advice. Laws, prices and regulations vary by location and change over time. Consult a qualified professional for guidance on your specific situation.