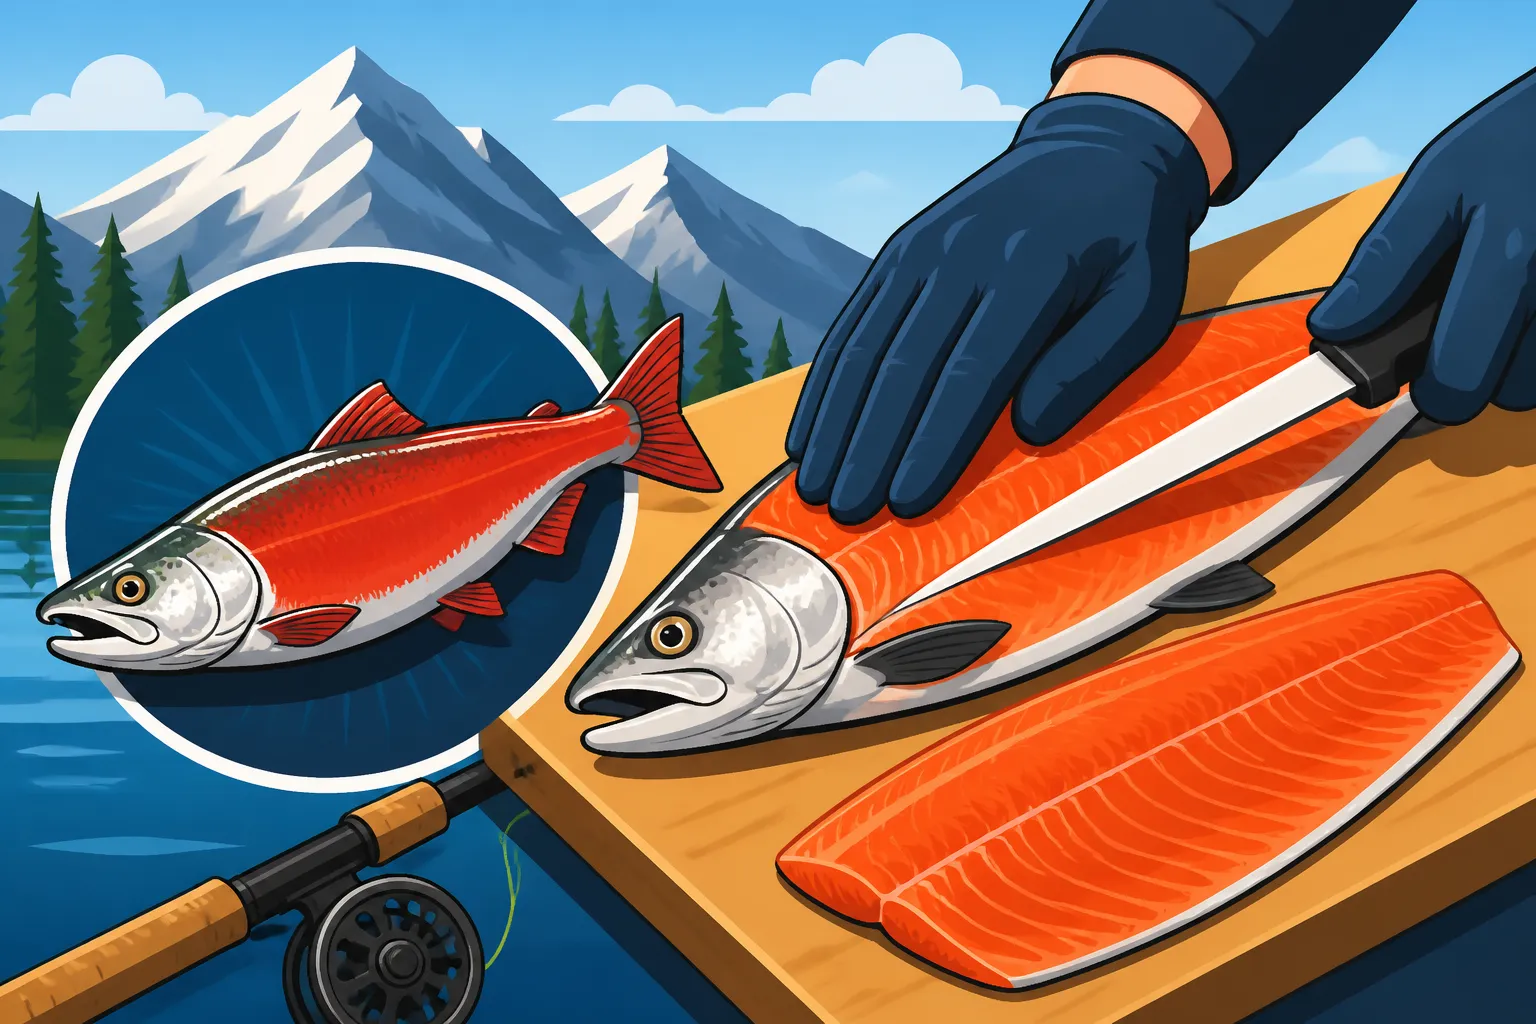
How to Fillet a Kokanee Salmon
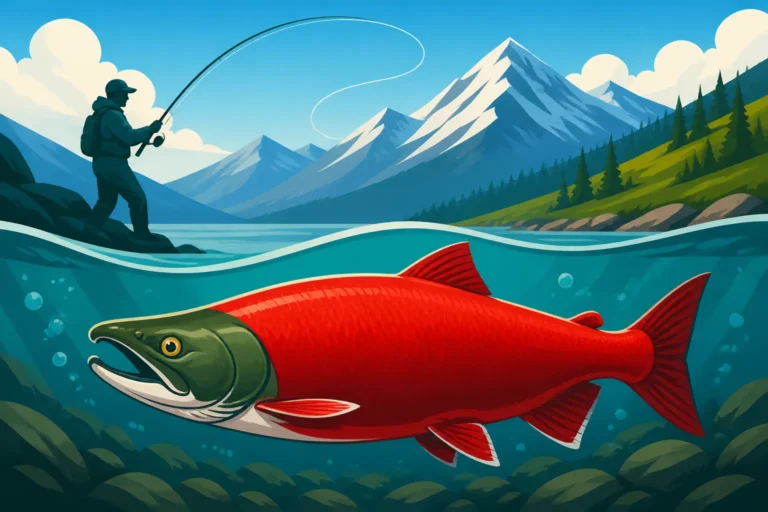
So you've had a fantastic day out on a Colorado reservoir, maybe Trolling for Kokanee Salmon in Colorado at Blue Mesa or another prime spot, and you've got a cooler full of those beautiful, crimson-fleshed kokanee. Now comes the moment of truth: turning those whole fish into delicious fillets ready for the pan or smoker. Many anglers, especially those new to kokanee, find filleting these smaller, delicate salmon a bit daunting. Don't worry, friend, you're not alone! This guide will walk you through every step, from selecting the right tools to those precise cuts, ensuring you get the most delectable meat from your hard-earned catch.
Why Kokanee Filleting Can Be Tricky And Worth The Effort
Kokanee salmon, while undeniably delicious, present a unique set of challenges compared to their larger ocean-dwelling relatives or even some of the robust trout you'll find in Colorado's rivers. Their size, combined with the delicacy of their flesh, means you can't just hack away. It requires a bit more finesse, but the payoff is absolutely worth it.
The Size Challenge
Let's be real, kokanee aren't huge. A typical kokanee might be anywhere from 12 to 18 inches long, which is a good eating size but certainly not a massive slab of fish. This smaller stature means less room for error when you're making your cuts. Every millimeter counts when you're trying to maximize your yield, and a misplaced knife stroke can significantly reduce the amount of precious meat you end up with. It can feel like you're performing surgery on a miniature fish, especially if you're used to filleting a bigger lake trout or a large walleye. The key here is patience and precision; rushing through it will only lead to frustration and wasted fish.
Imagine you've spent hours meticulously finding that perfect depth, perhaps How Deep to Troll for Kokanee at Blue Mesa, and then reeling in a few beauties. The last thing you want is to lose a significant portion of that effort to a clumsy filleting job. Smaller fish often mean smaller fillets, which can be fantastic for individual servings, but it also means you need to be mindful of minimizing waste. Every scrap of that vibrant orange meat is a treasure, a testament to your angling skill and the bounty of Colorado's waters.
Delicate Flesh Requires a Gentle Hand
Kokanee salmon are known for their incredibly tender, flaky, and richly flavored flesh. This is one of the main reasons why so many anglers specifically target them; the taste is truly second to none. However, this very quality means their flesh is quite delicate. Unlike some firmer-fleshed fish, kokanee can easily tear or crumble if handled too roughly. When you're running your knife along the bones or trying to separate the skin, you need a light touch and a very sharp blade to make clean cuts without mangling the meat.
This delicate nature means that blunt knives are your enemy. A dull blade will chew through the fish, leaving ragged edges and bruising the meat, which can impact both the appearance and the texture of your finished fillet. You also need to be conscious of how much pressure you're applying. It's not about brute force; it's about letting the sharpness of the knife do the work. Think of it more like slicing through butter than sawing through wood. With the right tools and a gentle approach, you'll preserve the beautiful integrity of the kokanee's meat.
The Reward Is Absolutely Worth It
Despite these minor hurdles, the reward of a perfectly filleted kokanee is immense. The flavor of fresh, wild-caught kokanee from Colorado's pristine waters is truly exceptional. Whether you plan to grill it, bake it, pan-sear it, or smoke it, knowing you've prepared it yourself from hook to plate adds an extra layer of satisfaction. Plus, having a freezer full of ready-to-cook fillets makes future meals a breeze. As we often discuss, Is Kokanee Salmon Good to Eat? is a resounding yes, and properly filleting them is the first step to enjoying their full culinary potential.
Many anglers find that processing their catch is part of the overall experience, a way to complete the cycle from the lake to the dinner table. There’s a quiet satisfaction in taking the time to carefully prepare your fish, honoring the effort you put into catching them and the natural resource they represent. Plus, you’ll be able to enjoy the freshest possible salmon, free from any preservatives or packaging concerns. It's a skill that pays dividends in deliciousness, making every bit of extra care during filleting worthwhile.
Essential Tools for Filleting Kokanee Salmon
Before you even think about making that first cut, it's crucial to gather the right equipment. Having the proper tools at hand not only makes the job easier and more efficient but also safer. A dull knife or an unstable cutting surface can lead to frustration or, worse, injury. Think of it as preparing your workbench before starting a delicate craft project.
The Right Knife Makes All the Difference
This cannot be stressed enough: a sharp, flexible fillet knife is your absolute best friend when working with kokanee. A good fillet knife has a thin, flexible blade, typically ranging from 6 to 9 inches in length. For kokanee, which are smaller, a 6-inch blade might give you better control, though a 7-inch can also work well. The flexibility of the blade is key because it allows you to easily follow the contours of the fish's spine and ribs, getting as close to the bone as possible to maximize your meat yield.
You don't need to break the bank for a quality fillet knife, but investing in one that holds an edge well is a smart move. Many reputable brands offer excellent knives, and you can find a wide range of options on platforms like Amazon. Look for a knife that feels comfortable in your hand, offers a good grip, and has a blade that can be sharpened to a razor's edge. Some knives even come with a sheath and a built-in sharpener, which can be convenient for keeping that edge keen. Remember, a sharp knife is a safe knife; it requires less pressure and is less likely to slip.
Cutting Board and Towels for Stability and Cleanliness
You'll need a clean, stable cutting surface. A good, non-slip cutting board is essential. Wooden boards are fine, but plastic or composite boards are often preferred for fish because they are non-porous and easier to sanitize thoroughly, preventing any cross-contamination or lingering fish odors. Make sure your board is large enough to comfortably hold a kokanee without it hanging over the edges.
Alongside your cutting board, have plenty of paper towels or clean cloth towels readily available. These aren't just for cleaning up; they serve a crucial purpose during the filleting process. You can use them to wipe down your hands for a better grip, clean your knife blade periodically to prevent build-up, and most importantly, you can lay a damp towel underneath your cutting board to prevent it from sliding around on your counter. A stable setup is paramount for safe and efficient filleting. You can easily stock up on these essentials on Amazon if you're setting up your fish processing station.
Sharpening Equipment
No matter how good your knife is, it will eventually lose its edge. This is where sharpening equipment comes in. A good sharpening steel or a ceramic honing rod is vital for maintaining that razor sharpness throughout the filleting process. A few quick strokes on a honing rod can bring back a knife's edge between fish, or even between cuts if you feel it dragging. For a truly dull knife, you might need a more aggressive sharpening system, such as a whetstone or an electric sharpener.
Don't underestimate the impact of a truly sharp knife. It will glide through the flesh, making clean, precise cuts with minimal effort. This reduces fatigue, increases safety, and most importantly, results in much cleaner, more aesthetically pleasing fillets with higher yield. Make it a habit to sharpen your knife before you start and to hone it regularly as you work. This small effort makes a huge difference in the quality of your results and your overall enjoyment of the filleting process.
| Fillet Knife Type | Blade Length (Inches) | Flexibility | Best For |
|---|---|---|---|
| Standard Fillet | 6-9 | Medium | All-around use, good for kokanee and trout |
| Boning Knife | 5-7 | Stiff | Removing bones from thicker meat |
| Ultra-Flexible | 6-8 | High | Very delicate fish, skinning thin fillets |
| Electric Fillet | Varies | N/A | High volume, larger fish, less precision |
Step-by-Step Guide to Filleting a Kokanee Salmon
Alright, you've got your beautiful kokanee, your trusty sharp knife, and a clean workspace. Now, let's get down to business. This process might seem detailed, but breaking it down into manageable steps will make it much clearer and easier to master. Remember, the goal is clean cuts, maximum yield, and delicious results.
Preparation Is Key
Before your knife even touches the fish, a little prep goes a long way. First, if you haven't already, ensure your kokanee are properly chilled. This firms up the flesh, making it much easier to handle and cut cleanly. Warm fish can be soft and mushy, making filleting a frustrating experience. Ideally, keep them on ice until you're ready to process them.
It's also a good practice to bleed your fish immediately after catching them, if possible. This not only improves the taste and texture of the meat by removing blood but also helps to keep the flesh cleaner during processing. If you're wondering how to do this, check out our guide on Do You Need to Bleed a Kokanee Salmon Right Away?. Once chilled, give each fish a quick rinse under cold water to remove any slime or debris from the outside. Pat them dry with a towel, which helps in getting a good grip and prevents slippage during cutting. A clean, damp towel placed under your cutting board will also prevent it from sliding around.
Making the Initial Cuts
Place your kokanee on the cutting board, belly facing away from you, with the head to your left if you're right-handed (or vice versa).
- First Cut (Behind the Gills): Take your sharp fillet knife and make a vertical cut just behind the pectoral fin and gill plate, going all the way down to the backbone. Don't cut through the backbone yet. You're essentially creating a starting point for your fillet. This cut should follow the natural curve of the fish's gill plate.
- Second Cut (Along the Top): Turn your knife blade so it's parallel to the backbone. Starting from the initial cut you just made, run your knife along the top of the backbone, working your way towards the tail. Keep the blade pressed against the spine as closely as possible to minimize wasted meat. You'll feel the bones guiding your knife. Don't worry if you don't cut completely through; just get a good groove going.
These initial cuts establish the path for the rest of your filleting process. Precision here sets you up for success. Feel the bone with your knife tip; it's your guide. Take your time, making smooth, deliberate strokes rather than short, jerky ones.
Separating the Fillet From the Spine
Now comes the main event – separating that beautiful fillet from the main bone structure.
- Work Down the Ribs: With the initial cut behind the head and the cut along the backbone established, gently lift the top flap of meat. Angle your knife slightly downwards towards the backbone, following the curve of the rib bones. Carefully slice down and over the rib cage, keeping the knife blade as close to the ribs as possible. You're trying to scrape the meat clean off the bones.
- Continue to the Tail: Once you clear the rib cage, continue your cut straight towards the tail, still keeping the blade tight against the backbone. You'll feel the spine as a solid line. This should detach the first fillet from the main body, leaving it attached only at the very tail section.
- Flip and Repeat: Once the first fillet is almost completely free, flip the fish over. Repeat the entire process for the second side: make the vertical cut behind the gill plate down to the backbone, then run your knife along the top of the backbone towards the tail. Then, carefully cut down and over the rib bones, continuing along the spine to the tail.
The goal here is to leave as little meat as possible on the frame. If you're getting good at it, your kokanee skeleton should be relatively clean, a testament to your filleting prowess. Don't be discouraged if your first few attempts leave some meat behind; it's all part of the learning curve. You can always go back and scrape off any remaining meat for fish stock or a delicious fish dip.
Removing the Rib Bones
Now you have two fillets, each with a set of pesky rib bones attached. These need to go.
- Locate the Ribs: Lay one fillet skin-side down on your cutting board. You'll clearly see the arc of the rib bones running through the thicker part of the fillet.
- Angle Your Knife: Take your fillet knife and make a shallow cut along the top of the rib bones, separating the meat from them. Angle your knife slightly upwards, away from the skin, to avoid cutting through the skin. This will allow you to lift the rib cage.
- Cut Them Out: Carefully slice under the rib bones, following their curve, and remove them as a single piece. You want to take as little meat as possible with the bones. It's a delicate operation, but with a sharp knife and a steady hand, you can do it efficiently.
You can also use a spoon to scrape the meat away from the ribs if you prefer, but a precise knife cut is usually more effective for minimizing waste. Some people prefer to leave a tiny bit of meat on the ribs and use them to make fish stock, which is a fantastic way to ensure nothing goes to waste. The important thing is that the main eating portion of the fillet is now bone-free.
Skinning the Fillet
There are a couple of popular methods for removing the skin from your kokanee fillet. Choose the one that feels most comfortable and effective for you.
- The "Pull" Method (My Go-To): Lay the fillet skin-side down. Make a small cut at the tail end, just through the flesh, down to the skin. Angle your knife almost flat, so the blade is barely above the skin. Grip the tail end of the skin firmly with your free hand (you might want to use a towel for better grip). While pulling the skin taut, saw gently with your knife, keeping the blade pressed firmly against the skin and moving away from you. The skin should peel away cleanly, leaving you with a beautiful, skinless fillet. This method is often preferred for kokanee because their skin is quite thin.
- The "Scrape" Method: Some anglers prefer to gently scrape the skin off with the back of a spoon or a dull knife, particularly if the flesh is very delicate. However, for kokanee, a sharp fillet knife is usually more efficient.
Whichever method you choose, take your time. If you rush, you risk tearing the delicate flesh or leaving patches of skin on your fillet. The goal is a smooth, clean separation, leaving all that delicious meat behind.
Pin Boning and Trimming
Even after removing the rib bones, kokanee, like most salmon, will have a line of small, fine pin bones running down the center of each fillet. These are easily removed.
- Locate Pin Bones: Run your finger along the center line of the fillet. You'll feel the ends of these tiny bones sticking out. They are typically located in a V-shape pattern.
- Remove with Pliers/Tweezers: Use a pair of clean needle-nose pliers or specialized fish bone tweezers (you can find these handy tools on Amazon, often bundled with fillet knives). Grasp each pin bone firmly and pull it out at a slight angle in the direction it was growing (towards the head). This minimizes tearing of the meat. This process can be a little tedious, but it's crucial for a truly enjoyable, bone-free eating experience.
- Final Trimming: Once the pin bones are gone, inspect your fillets. Trim away any dark bloodline (the red streak along the midline) or excess fat, as these can impart a stronger, sometimes "fishier" flavor. Also, trim off any ragged edges to give your fillets a neat, uniform appearance. This step results in prime, ready-to-cook pieces of fish.
Now you have perfectly clean, skinless, bone-free kokanee salmon fillets! You've done it! These fillets are now ready for your favorite recipe, whether that's a quick pan-fry or smoking them for a tasty snack.
Tips for Maximizing Your Yield and Enjoying Your Catch
Filleting fish is a skill, and like any skill, it improves with practice. Don't expect perfection on your first attempt, but know that every fish you process will make you better and more efficient.
Practice Makes Perfect
Seriously, the more you fillet, the better you'll get. Your hands will learn the contours of the fish, your knife control will improve, and you'll become much faster and more confident. Don't be discouraged if your first few fillets aren't picture-perfect. Even if you leave a little meat on the bones, remember that it's all part of the learning process. Over time, you'll find your own rhythm and preferred techniques. Every angler who fillets their own fish started somewhere, and with each successful trip to a place like Blue Mesa for Kokanee Salmon Fishing in Colorado, you'll have more opportunities to hone your craft.
Consider watching a few instructional videos online to see different techniques in action. Sometimes seeing a cut performed from a different angle can unlock understanding. Experiment with different knife angles and pressures. The most important thing is to keep at it. Soon, you'll be filleting a pile of kokanee like a seasoned pro, turning your catch into delicious meals with ease.
Utilizing the Scraps
One of the great things about processing your own fish is the opportunity to truly minimize waste. The frame, head, and rib bones, which often contain a surprising amount of flavorful meat, are perfect for making fish stock. This stock can then be used as a base for soups, stews, or sauces, adding a wonderful depth of flavor. You can also pick off any remaining bits of meat from the frame after making stock and use it in a smoked fish dip or fish cakes.
Even the organs, if you're adventurous, can be used. Many cultures consider fish cheeks, collars, and even livers to be delicacies. While this might be a step beyond basic filleting, it's worth considering as you become more confident in the kitchen. For a great snack, if you have extra belly meat or smaller pieces, try smoking them! Kokanee bellies are incredibly rich and flavorful when smoked. Making the most of every part of the fish honors the resource and your effort in catching it, tying into the whole Kokanee Salmon Life Cycle in Colorado.
Proper Storage and Cooking
Once you have those beautiful fillets, proper storage is crucial to maintain their freshness and flavor. For immediate consumption, keep them in the refrigerator, ideally on ice or in a sealed container, and cook them within a day or two. If you're planning to freeze them, place individual fillets in freezer bags, remove as much air as possible (a vacuum sealer is fantastic for this), and freeze them flat. This prevents freezer burn and keeps the fish fresh for several months.
When it comes to cooking, kokanee salmon is incredibly versatile. Its rich, delicate flavor shines with simple preparations. A quick pan-sear with a little butter and herbs, a bake in the oven with lemon and dill, or grilling it lightly are all fantastic options. The vibrant color of the meat makes it visually appealing, and its flaky texture is always a crowd-pleaser. You've gone to all this effort, so make sure to cook it with care and enjoy every bite! Remember, the right preparation and even the right Best Lures for Trolling Kokanee Salmon all lead back to this delicious meal on your plate.
Disclaimer
This article is for general informational purposes only and does not constitute professional advice. Laws, prices and regulations vary by location and change over time. Consult a qualified professional for guidance on your specific situation.