How to Tie a Dry-Dropper Rig for a Freestone River
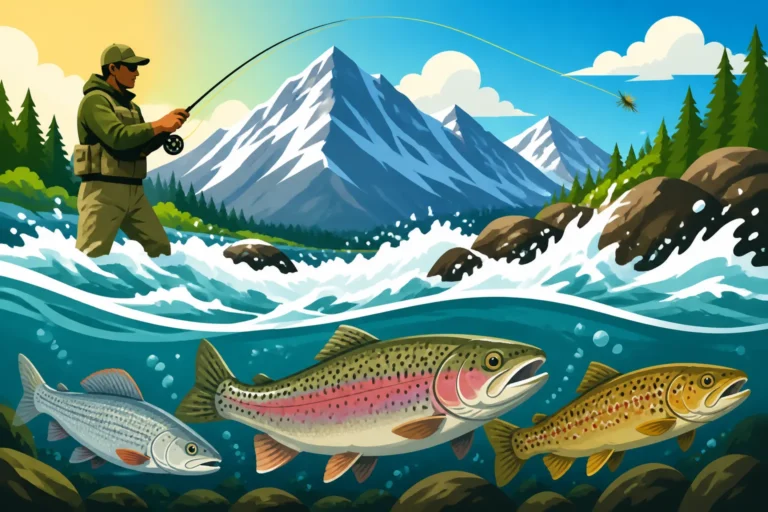
There’s nothing quite like standing on the banks of a beautiful Colorado freestone river, watching trout rise, but sometimes the fish are a little more cagey, feeding deeper in the water column. It can be incredibly frustrating to pick between casting a dry fly and trying to tempt them with a nymph. This guide is all about giving you the best of both worlds by showing you exactly how to tie a dry-dropper rig, a versatile setup that can significantly increase your success on our magnificent freestones.
Understanding the Dry-Dropper Advantage on Freestone Rivers
Freestone rivers in Colorado are truly special places. Unlike tailwaters, which have consistent flows and temperatures due to dams, freestones are completely at the mercy of Mother Nature. Their flows fluctuate with snowmelt and rain, and their water temperatures change with the seasons. This dynamic environment means trout often feed opportunistically, sometimes on insects floating on the surface, and other times on nymphs tumbling along the bottom. The dry-dropper rig is an ingenious solution to cover both these bases simultaneously, making it a go-to for experienced anglers navigating Colorado's varied waters.
The Dual Threat: Surface and Subsurface Presentation
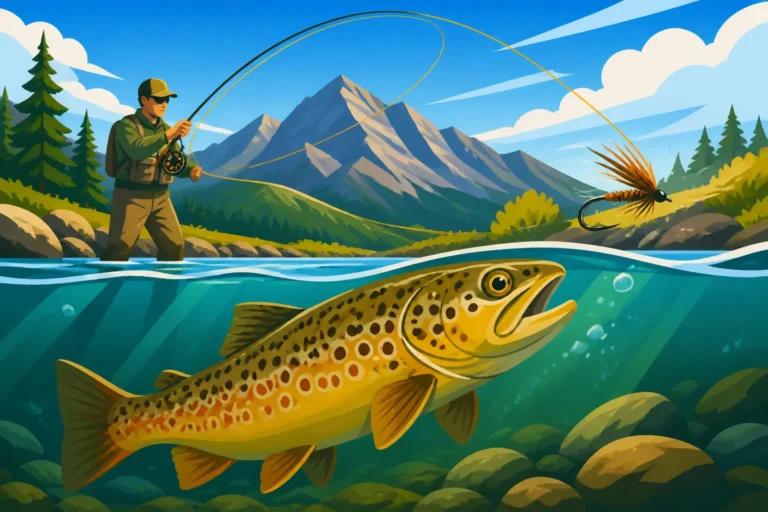
Imagine a scenario: you're fishing a gorgeous stretch of the Arkansas River near Buena Vista, and you see a few sporadic rises, but they're not consistent enough to commit to just a dry fly. At the same time, you know there's likely a smorgasbord of nymphs drifting downstream. This is precisely where the dry-dropper rig shines. Your dry fly acts as an attractor on the surface, mimicking a large adult insect like a grasshopper or a caddis. More importantly, it also serves as a visible strike indicator for the nymph tied below it. If a trout sips your dry fly, fantastic! But if a fish takes the subsurface nymph, you’ll see the dry fly twitch, hesitate, or disappear, signaling a take. It’s like having two lines in the water with one cast, doubling your chances.
This setup is particularly effective when you're targeting hungry trout that aren't overly selective. They might be looking up for a meal, or they might be looking down. With the dry-dropper, you're presenting options, covering both feeding zones. It's a pragmatic approach for those days when the fish aren't showing a clear preference, or when you're simply trying to locate where they're holding and what they're eating. The beauty of it lies in its adaptability.
Reading Freestone Water and Your Rig's Versatility
Freestone rivers are characterized by their diverse structures: riffles, runs, pools, and pocket water. Learning to effectively read water on a Colorado freestone river is paramount, and your dry-dropper rig is surprisingly versatile across these different features. In swift riffles, the dry fly helps keep your nymph drifting naturally, preventing it from dragging too quickly. In slower runs, the dry fly provides excellent visibility, allowing you to detect subtle takes on the dropper. When you're dealing with choppy pocket water, the buoyant dry fly can help suspend your nymph just above snags, allowing for a more productive drift through tricky spots.
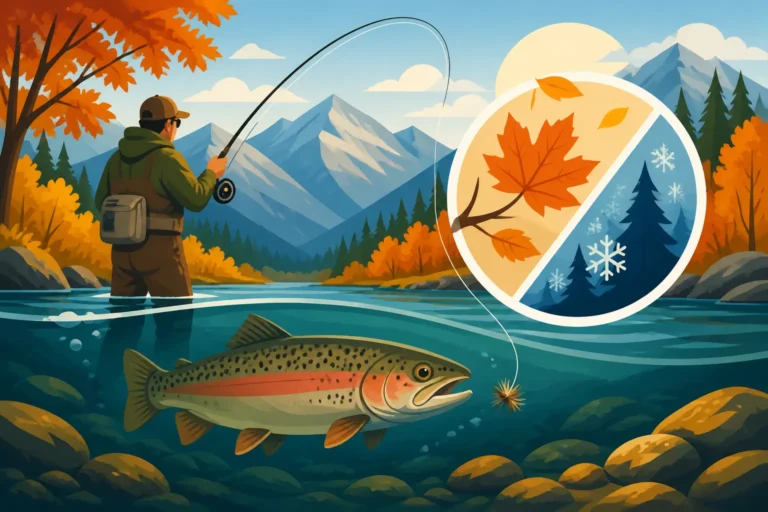
The rig’s versatility extends to different seasons as well. During the spring runoff, when flows are high and murky, a larger, more buoyant dry fly can keep a heavy nymph suspended effectively. As the water clears and cools in the fall, you can downsize your flies and tippet for more finicky fish. The key is knowing how to adjust your setup – particularly the weight of your nymph and the length of your dropper tippet – to match the depth and speed of the water you're fishing. This adaptability is what makes the dry-dropper rig such a powerful tool in any Colorado angler's arsenal.
Essential Components for Your Dry-Dropper Rig
Before you start tying, it's crucial to understand the individual pieces that come together to form a successful dry-dropper rig. Each component plays a specific role in presentation, visibility, and ultimately, catching fish. Skimping on quality here can lead to frustration on the water, so choosing reliable materials is important.
Choosing Your Dry Fly: The "Indicator" Fly
The dry fly in a dry-dropper rig isn't just about catching fish on the surface (though that's a bonus!). It primarily acts as a highly visible strike indicator and a buoyant anchor for your subsurface nymph. This means you need a dry fly that's robust, floats well, and is easy to see. Forget those tiny, delicate Trico patterns for this role. Instead, think big, bushy, and buoyant.
Excellent choices for indicator dry flies in Colorado often include larger patterns like Chubby Chernobyls, various foam hoppers, or big Elk Hair Caddis patterns. A #10 or #12 Chubby Chernobyl, for instance, has a large foam body that rides high on the water and can support a surprisingly heavy nymph. You can find a fantastic selection of these on Amazon, often in multi-packs, which is convenient. Consider the conditions: a bright yellow hopper pattern might be great on a sunny day, while a darker Chernobyl with an orange indicator post might be better in lower light. The goal is easy visibility for you, so you can detect even the most subtle takes on your dropper. Remember, the dry fly needs to be stout enough to stay afloat even with the added weight of the dropper and a potential fish tugging on it.
Selecting Your Dropper Nymph: Matching the Hatch Below
This is where your knowledge of Colorado's aquatic insects really comes into play. The dropper nymph is your primary fish-catching tool in a dry-dropper setup, designed to mimic the subsurface insects that trout are actively feeding on. Think about the prevalent insects in the river you're fishing. Are there a lot of caddis larvae, stonefly nymphs, or mayfly nymphs? Your dropper should imitate these.
Some of the most consistent nymph patterns for Colorado freestones include Hare's Ear Nymphs, Pheasant Tail Nymphs, Prince Nymphs, and various stonefly imitations like Pat's Rubber Legs. Sizes can vary, but generally, #14 to #20 are common. If you’re fishing deeper water or faster currents, you might want a nymph with a tungsten bead head to help it sink quickly. For shallower runs, a lightly weighted or unweighted nymph might be better. The key is to select a nymph that matches the size, shape, and color of the natural insects in the water, giving the trout what they're already looking for. A great way to prepare is to check local fly shop reports or even turn over a few rocks in the river to see what's crawling around beneath.
Leader, Tippet, and Connections
The foundation of your dry-dropper rig starts with your leader and tippet. Typically, you'll want a tapered leader of 7.5 to 9 feet, ending in a size 4X or 5X tippet. This provides a good turnover for your flies and enough strength for most trout. From the end of this leader, you’ll then attach your dry fly.
The material for your dropper tippet is crucial. Fluorocarbon is often preferred for dropper nymphs because it's virtually invisible underwater and sinks faster than monofilament. However, monofilament can also work if you're fishing shallower water or don't want to carry multiple tippet spools. For the dropper section, a good starting point is 5X or 6X tippet, depending on water clarity and fish selectivity. If you're fishing for big, wary trout in clear water, a finer 6X might be necessary. Conversely, if you're in slightly murkier water or targeting aggressive fish, 5X will give you more breaking strength. Always ensure your dropper tippet is at least one X size smaller than your main leader's tippet section; this ensures that if you snag, you only break off the dropper, not your entire rig. Don't forget to consider a Best Leader Length for Clear Tailwater Water when making your selection, even though freestones behave differently, the principle of presentation remains.
Table: Common Dry Flies for Dry-Dropper Rigs on Colorado Freestones
| Dry Fly Pattern | Size Range | Primary Imitation | Benefits | Ideal Conditions |
|---|---|---|---|---|
| Chubby Chernobyl | #8-#14 | Large Terrestrial/Attractor | Very buoyant, highly visible, supports heavy nymph | Fast water, pocket water, summer/fall |
| Elk Hair Caddis (Large) | #10-#14 | Adult Caddisfly | Good floatation, natural profile, versatile | Moderate currents, active caddis hatches |
| Foam Hopper | #8-#14 | Grasshopper | Excellent buoyancy, durable, high visibility | Late summer, fall, grassy banks |
| Royal Wulff | #10-#16 | Attractor/Mayfly | Good floatation, durable, distinct silhouette | Varied conditions, general attractor |
| Stimulator | #8-#14 | Stonefly/Caddisfly | Very buoyant, robust, good for fast water | High flows, turbulent water, active stonefly/caddis |
Step-by-Step Guide: Tying the Perfect Dry-Dropper Rig
Now for the hands-on part! Tying a dry-dropper rig isn't complicated, but precision matters. A well-tied rig will cast better, drift more naturally, and ultimately help you catch more fish. Don't rush this process; take your time to ensure strong knots and proper lengths.
Attaching the Dry Fly
First things first, you need to attach your chosen buoyant dry fly to the end of your tapered leader. For most dry flies, a clinch knot or an improved clinch knot is perfectly sufficient. These knots are strong, relatively easy to tie, and don't slip much, even under pressure.
To tie an improved clinch knot:
- Pass the tag end of your leader through the eye of the dry fly.
- Wrap the tag end around the standing line (the main leader) 5-7 times.
- Thread the tag end back through the first loop you created right above the eye of the hook, and then through the large loop that just formed.
- Moisten the knot with saliva (this helps it cinch down tightly without friction weakening the line).
- Pull both the tag end and the standing line slowly and firmly to tighten the knot securely against the eye of the hook.
- Trim the excess tag end very close to the knot, leaving about 1/8 inch.
Double-check your knot by giving it a good tug. It should feel solid. This dry fly is now your anchor and your indicator.
Connecting the Dropper Tippet to the Dry Fly
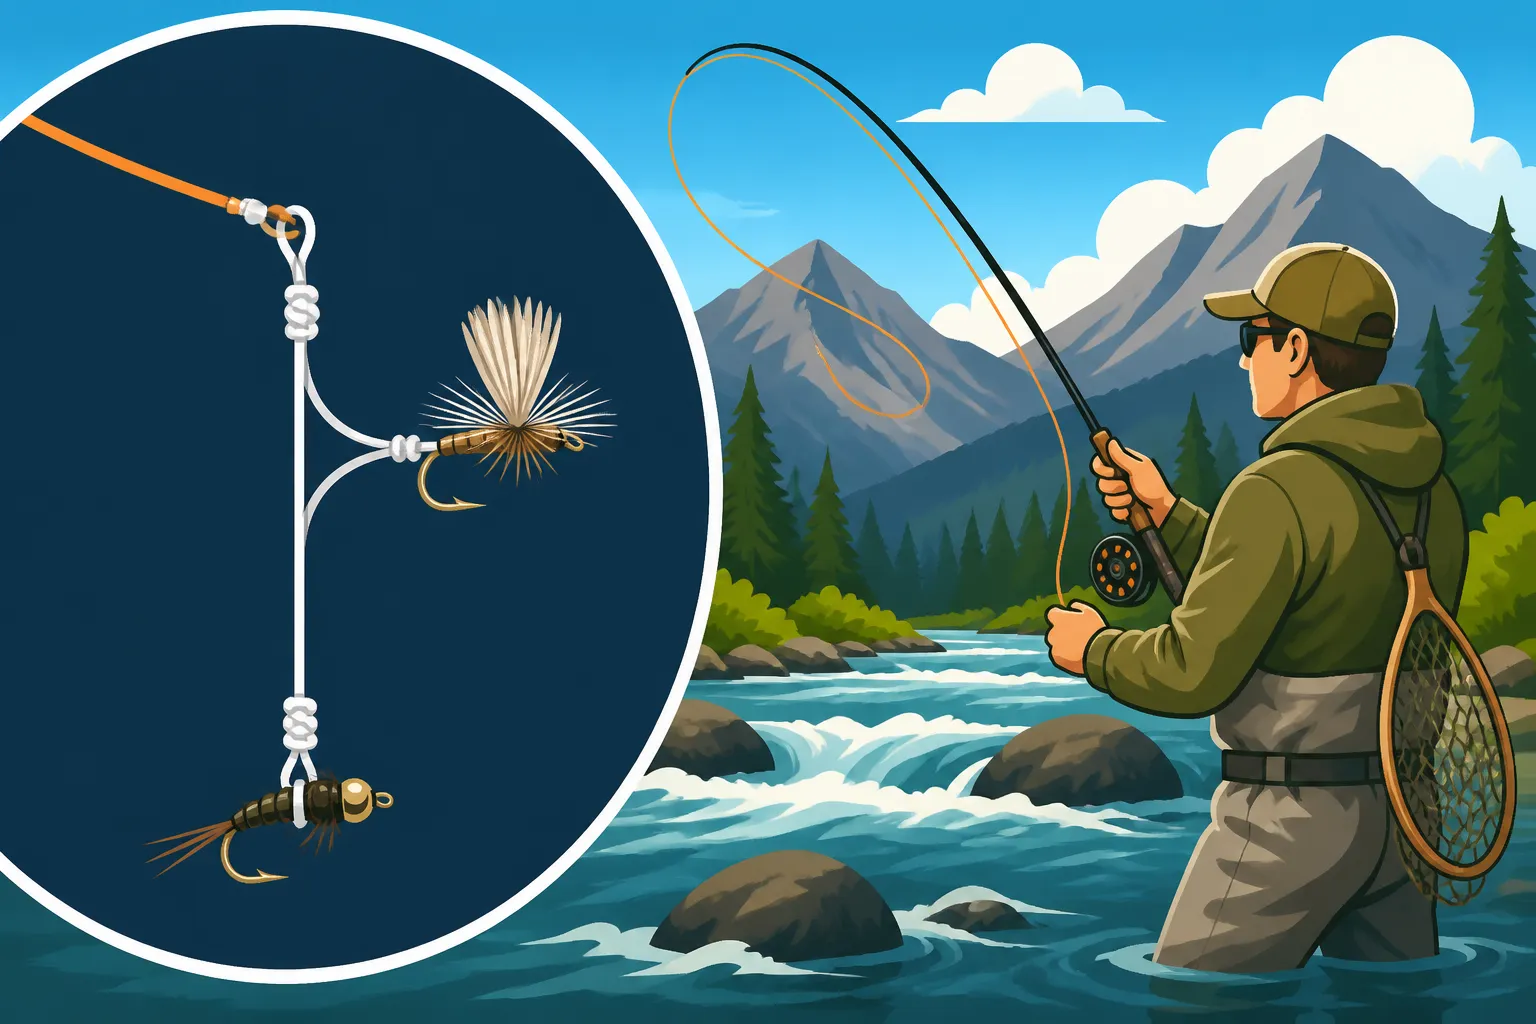
This is the critical junction of your dry-dropper rig. There are a couple of popular methods for connecting your dropper tippet, each with its own advantages. The most common and often recommended way is to tie the dropper tippet directly to the bend of the dry fly's hook. This creates a natural presentation where the nymph dangles directly below the dry.
Another method is to tie the dropper tippet to the eye of the dry fly's hook, where your leader is already attached, essentially creating a tag end off the dry fly. This can sometimes lead to tangles, however, so tying off the bend is generally preferred.
Let's go with the bend-of-the-hook method:
- Take a section of your fluorocarbon or monofilament tippet for the dropper. The length will vary, but a good starting point for Colorado freestones is 12 to 24 inches. The depth of the water and how far you want your nymph to sink will dictate this length. If the water is 3 feet deep, you'll want your dropper tippet to be at least 2.5-3 feet to get your nymph into the strike zone.
- Tie one end of this dropper tippet to the bend of the dry fly's hook using a clinch knot or improved clinch knot. Be careful not to damage the dry fly itself while you're tying.
- Moisten the knot, pull it tight, and trim the tag end.
This connection should be strong and allow your nymph to hang freely. For a deeper dive into nymphing, you might find our guide on Nymphing Techniques for Colorado Tailwaters helpful, as many nymph strategies translate well to the dropper on freestones.
Adding the Dropper Nymph
Finally, it's time to attach your chosen subsurface pattern. Take the free end of the dropper tippet and tie your nymph to it. Again, an improved clinch knot is a reliable choice here.
To attach the nymph:
- Pass the tag end of the dropper tippet through the eye of the nymph.
- Perform the improved clinch knot as described above: wrap 5-7 times around the standing line, thread back through the loops, moisten, and tighten.
- Trim the excess tag end.
And there you have it! A complete dry-dropper rig. Remember to keep the length of your dropper tippet in mind; it's the primary factor in how deep your nymph will run. Experimentation is key. On Amazon, you can find various tippet spools, often in multi-packs, making it easy to carry different strengths for various conditions and rig configurations.
Fishing Your Dry-Dropper Rig Effectively
Having the perfect rig tied is one thing; fishing it successfully is another. Presentation, reading strikes, and knowing when to make adjustments are all crucial for success on Colorado's freestone rivers. This rig offers incredible versatility, but you need to know how to harness it.
Casting and Presentation Considerations
Casting a dry-dropper rig effectively can be a bit different than casting a single dry fly. You're now lobbing two flies, plus a small amount of weight from the nymph, which can throw off your timing if you're not used to it. The key is to slow down your casting stroke. Think of it less as a whip and more as a controlled lob.
When casting, aim for soft landings. You don't want your dry fly to crash down onto the water, spooking every trout within a 10-foot radius. Let the leader and tippet fully extend before the flies hit the water. On smaller streams, shorter casts are generally better. On larger rivers like the Colorado River near Kremmling, you might need a bit more distance, but still prioritize accuracy over brute force.
Your goal is to achieve a natural, drag-free drift. Trout are incredibly sensitive to unnatural drag, which makes your flies look like they're being pulled unnaturally by the current. Position yourself upstream and slightly across from your target area, casting your rig upstream and letting it drift naturally downstream. Mend your line as needed to eliminate drag, allowing the dry fly to float freely without any pulling from your fly line. This is where a good Best Rod Weight for Colorado Trout Fishing comes into play, as a properly matched rod can make delicate presentations much easier.
Reading Strikes and Setting the Hook
This is arguably the most crucial aspect of fishing a dry-dropper. Your dry fly isn't just a flotation device; it's your visual cue for a take on either fly. A strike on the dry fly will be obvious – a splash, a sip, or the fly simply disappearing. But a strike on the nymph can be much subtler.
Watch your dry fly intently. Any unnatural movement – a slight twitch, a hesitation in its drift, or it dipping slightly below the surface – could indicate a trout has taken your nymph. Don't assume it's just turbulence; if in doubt, set the hook! It's better to make a few false hook sets than to miss a trophy trout.
When you see a take, or suspect one, set the hook with an upstream or side-stream motion. A gentle, controlled lift of the rod tip is usually all that's needed to secure the hook. Avoid massive, over-the-shoulder hook sets, especially when using lighter tippet, as this can easily break your line or snap your rod. Practice a smooth, decisive motion to learn how to set the hook on a take in fast water. Once you've hooked a fish, enjoy the fight, and remember to handle trout for a safe release.
Adjusting Your Rig for Different Conditions
The beauty of the dry-dropper is its adaptability, but you need to know when and how to adapt.
- Water Depth and Speed: If you're not getting bites on your nymph, but you suspect fish are holding deeper, you have two options: lengthen your dropper tippet or add a small split shot above your nymph. Conversely, if you're snagging the bottom frequently, shorten your dropper or use a lighter nymph. For faster water, a slightly heavier nymph or a longer dropper might be needed to get it into the strike zone quicker.
- Hatch Activity: Pay attention to what's happening around you. If you start seeing a strong hatch of Blue-Wing Olives, you might want to switch your dry fly to a smaller BWO pattern and your nymph to a BWO emerger. If larger insects like stoneflies are active, ensure your dropper reflects that. Checking a Colorado Fishing Seasons Month by Month guide can help you anticipate general hatch periods.
- Fish Selectivity: On highly pressured Gold Medal Waters like the Fryingpan River, trout can be incredibly selective. You might need to downsize your tippet to 6X or even 7X for your dropper, and ensure your nymph is a precise imitation. If the fish are less wary, you can get away with a more robust setup.
- Light Conditions: On bright, sunny days, fish might hold in deeper, shadier pockets. On overcast days, they might be more willing to rise. Adjust your dropper depth accordingly. Also, consider the visibility of your dry fly; a bright foam pattern helps in glare, while a more subtle dry might be better in calm, clear water.
- Temperature: Water temperature significantly impacts trout feeding. In colder water, fish are often lethargic and prefer subsurface meals presented slowly. In warmer water, they might be more active and willing to chase a dry fly.
By understanding these factors and making timely adjustments, you'll find the dry-dropper rig to be an incredibly effective tool for unlocking the full potential of Colorado's freestone fishing.
Disclaimer
The information provided in this guide is for general informational purposes only. Fishing regulations and conditions in Colorado can change rapidly. Always consult the most current Colorado Parks and Wildlife regulations before heading out on the water. Be aware of local conditions, weather, and water safety. Fishing can be a dangerous activity, and participation is at your own risk.