How to Set Up a Nymph Rig for a Deep Tailwater Run
There’s nothing quite as frustrating as watching fellow anglers consistently hook up while your perfectly tied fly just isn't getting into the strike zone. You cast, you mend, you wait, and nothing. On Colorado's stunning, often challenging tailwaters, getting your flies down deep enough to entice those wary trout is a fundamental hurdle many of us face. This comprehensive guide will walk you through the precise steps and considerations for setting up a nymph rig designed to punch through the current and present your flies effectively in those deep, productive runs.
The Unique Challenge of Deep Tailwater Nymphing
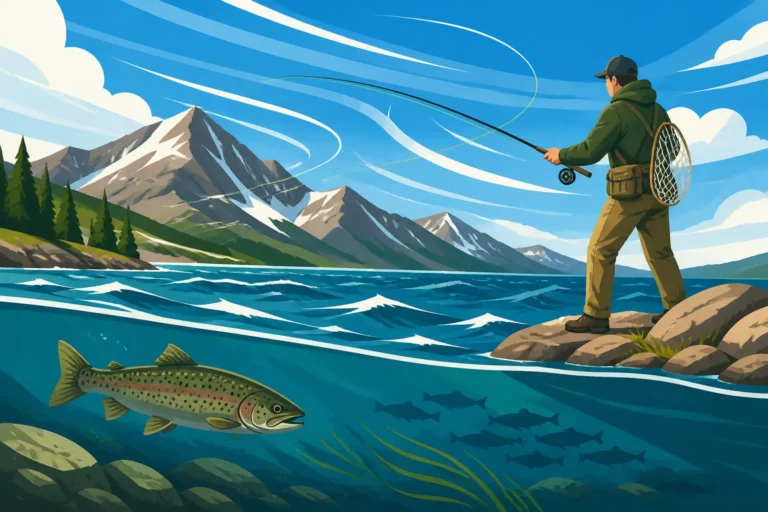
Colorado's tailwaters, like the Blue River below Dillon Reservoir or the Fryingpan River beneath Ruedi, are renowned for their incredible trout populations and challenging conditions. These rivers are characterized by consistent water temperatures, often robust flows, and extremely selective trout that have seen every fly in the book. The biggest hurdle? Getting your tiny, often delicate nymphs down through several feet of moving water to where the fish are actually feeding, usually right near the bottom.
Why Trout Hold Deep in Tailwaters
Trout in tailwaters tend to hold deep for a few critical reasons, and understanding this behavior is key to successful nymphing. First, it’s a matter of energy conservation. Strong currents require constant effort to maintain position. By holding closer to the bottom, where currents are often slower due to friction with the riverbed, trout can expend less energy. Second, it's where the food is. The vast majority of aquatic insects – nymphs, larvae, and pupae – drift along the bottom, making it the prime feeding lane. Finally, deeper water offers security from predators, both avian and terrestrial, allowing trout to feel safer as they feed. If your flies aren't reaching this zone, you're simply not in the game.
Overcoming Strong Currents and Variable Depths
Tailwaters can feature a wide range of depths and current speeds within a single run. One moment you might be drifting over a shallow gravel bar, the next your flies are plummeting into a ten-foot-deep trench. Strong currents, often created by dam releases, can make it incredibly difficult for your lightweight nymphs to sink quickly and maintain a natural drift. This is why a well-constructed nymph rig, specifically designed for these conditions, becomes absolutely essential. It’s not just about adding weight; it’s about intelligent weight distribution, proper leader design, and sensitive strike detection to ensure your flies are presenting naturally and you can feel every subtle take.
Essential Components of a Deep Nymph Rig
Building an effective deep nymph rig is like assembling a finely tuned machine; each component plays a crucial role. From the moment your fly line hits the water to the point where your fly is gently drifting along the riverbed, every piece of tackle influences your success. Let’s break down the individual elements and why they matter for getting those nymphs down.
Understanding Your Leader and Tippet Configuration
Your leader and tippet are the invisible connection between your fly line and your flies, and they are paramount for proper presentation in deep water. A standard 9-foot tapered leader is a good starting point, but for deep nymphing, you'll often need to extend it. Many anglers opt for longer leaders, sometimes 12 to 15 feet, especially in clear, slow-to-moderate tailwaters where trout are spooky. The longer leader helps keep your brightly colored fly line further from the fish's sight.
When it comes to tippet, varying diameters are crucial. You'll typically want to attach 2-3 feet of a stronger tippet (e.g., 3X or 4X fluorocarbon) to the end of your leader, which acts as your primary connection for adding weight and your first fly. From there, you'll tie on your lighter, finer tippet (e.g., 5X or 6X fluorocarbon) for your dropper fly. Fluorocarbon is often preferred over monofilament for nymphing because it sinks faster and is less visible underwater. You can find reliable fluorocarbon tippet on Amazon from brands like Seaguar or Rio. A good resource for understanding the nuances of these choices is our guide on Best Leader Length for Clear Tailwater Water and How Fine a Tippet You Need for Selective Tailwater Trout.
Choosing the Right Indicators for Depth and Sensitivity
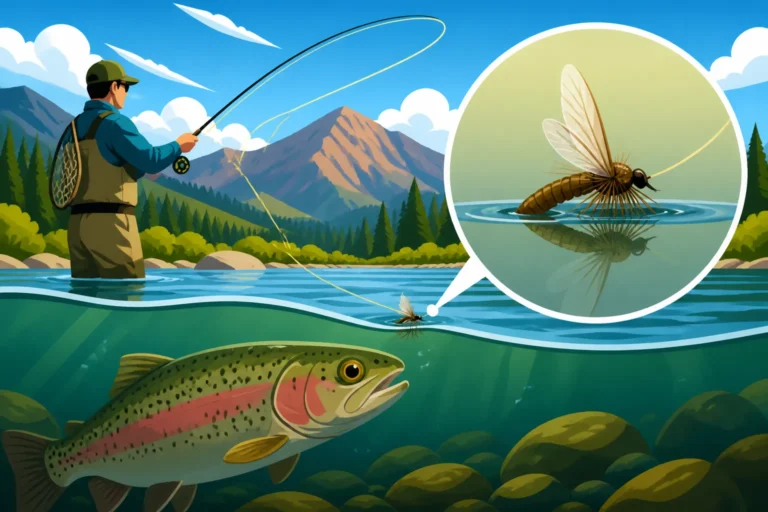
The right strike indicator is your window to what's happening subsurface. For deep nymphing, you need an indicator that is buoyant enough to support your heavy rig, yet sensitive enough to register the slightest take. Large, round bobber-style indicators, while highly visible, can be too bulky and create too much drag in strong currents, pulling your flies unnaturally.
Enter the world of specialized nymphing indicators. Yarn indicators, often treated with floatant, are incredibly sensitive and can be easily adjusted on your leader. They offer minimal splash and land softly, which is a huge plus on skittish fish. Another popular choice for deeper, faster water are indicators like the Air-Lock Strike Indicator. These are very buoyant and can hold a lot of weight, while still being adjustable. The key is to position your indicator far enough up your leader so that your flies have ample time to sink to the desired depth before the current pulls them. A common rule of thumb is to set your indicator at least 1.5 to 2 times the estimated depth of the water, and sometimes even more in very deep or fast-moving runs.
Selecting Weight: Split Shot, Tungsten Putty, or Heavier Flies
This is where the rubber meets the road (or the lead hits the riverbed!). Getting your flies deep often means adding weight. There are three primary methods, and often a combination is best:
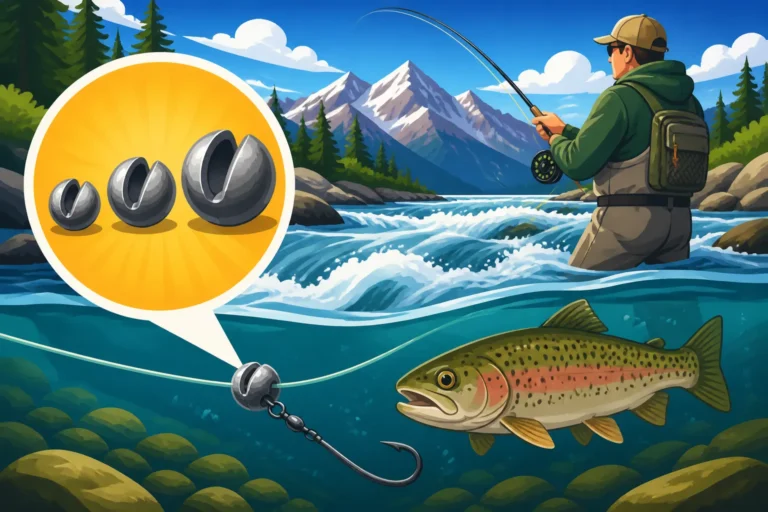
- Split Shot: These are small lead or non-toxic metal weights crimped onto your leader. They come in various sizes (BB, B, 3/0, 2/0, 1/0, etc.) and are incredibly versatile. The trick is to add just enough to get your flies down without "bombing" the bottom, which can cause unnatural drifts and frequent snags. Experimentation is key. You can buy multi-packs of split shot readily available on Amazon or at any fly shop.
- Tungsten Putty: This malleable, non-toxic material can be molded around your leader. It's fantastic for fine-tuning your weight, as you can add or remove tiny bits as needed. It also has a more natural, less clunky profile in the water.
- Heavier Flies: Incorporating a heavy, bead-head nymph as your "anchor fly" is a highly effective way to get your rig down. Flies tied with tungsten beads sink much faster than those with brass or no bead. This approach means less external weight on your leader, leading to a cleaner drift.
Often, the most effective deep nymph rig uses a combination: a heavy anchor fly followed by smaller, lighter flies, with supplemental split shot or tungsten putty added a foot or so above the lead fly to truly plummet the depths.
The Right Nymphs for Deep Water Success
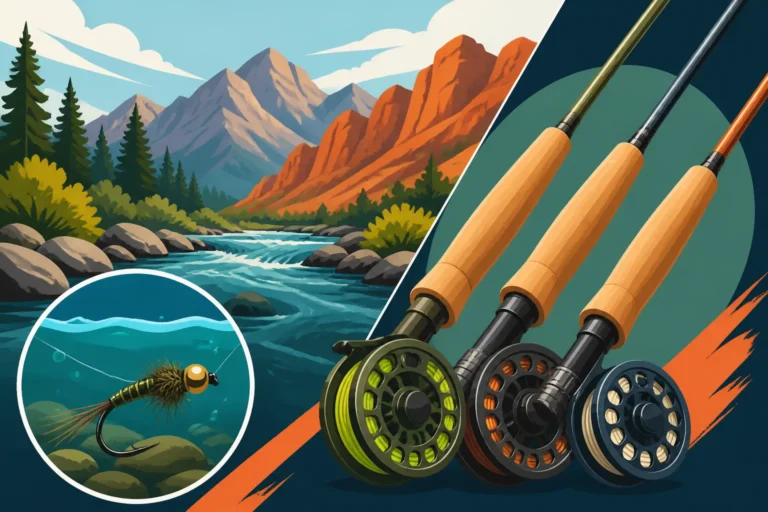
Selecting the right nymphs is just as crucial as the rig itself. For deep tailwater nymphing, you'll generally want patterns that imitate the most common food sources in that particular river. This often means tiny midges, small mayfly nymphs (like Baetis or Blue-Winged Olives), and occasionally caddis larvae or sowbugs. Sizes can range from a microscopic #24 midge up to a #16 or #14 mayfly.
When choosing flies, always consider their inherent weight. Tungsten-bead flies are invaluable for deep presentations. Patterns like the Tungsten Surveyor, Frenchie, or Perdigon Nymphs are designed to sink quickly. For specific recommendations, check out our guide on Best Flies for Colorado's Gold Medal Trout Water. You might even consider purchasing these patterns in bulk from online retailers like Amazon if you find a specific pattern that works exceptionally well on your local tailwater, especially since deep nymphing can sometimes lead to snagging and losing flies.
Building Your Deep Nymph Rig, Step-by-Step
Now that we understand the individual components, let's put it all together. Setting up a deep nymph rig correctly takes practice, but following these steps will help ensure your flies get into the strike zone effectively.
Step 1: Preparing Your Leader and Adding Your Indicator
First things first, take your standard 9-foot (or longer) tapered leader and prepare it. Many anglers prefer to cut back the butt section slightly to create a stronger connection for their tippet. Then, attach 2-3 feet of 3X or 4X fluorocarbon tippet using a blood knot or a double surgeon's knot. This section of tippet will be where your indicator and any additional weight are placed.
Next, slide your chosen strike indicator onto this section of tippet. For adjustable indicators like the Air-Lock or a yarn indicator, position it about 1.5 to 2 times the depth of the water you intend to fish. If you're fishing a 6-foot deep run, start with your indicator around 9-12 feet from the end of your tippet. Remember, this is an initial estimate; you'll fine-tune this throughout your fishing session. The ability to easily adjust your indicator is a game-changer when exploring different depths.
Step 2: Tying on Your Nymphs and Adding Weight
This is where your flies come into play. You’ll typically fish a two-fly nymph rig, sometimes referred to as a "hopper-dropper" when dry flies are involved, but in this case, it's nymph-dropper.
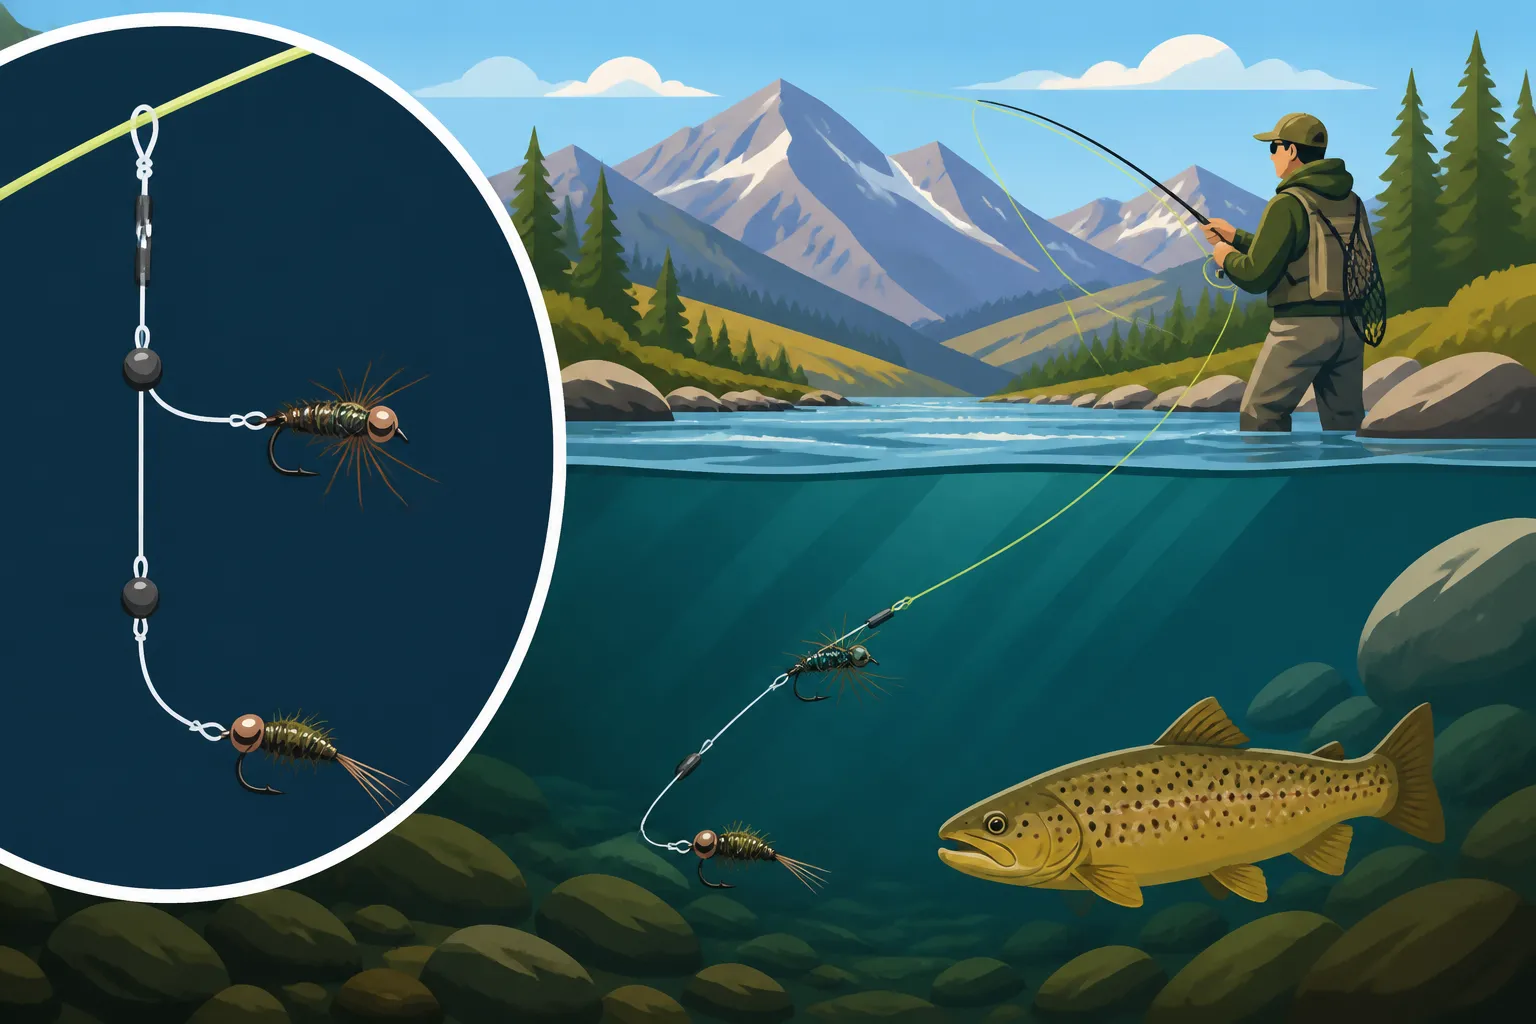
- Anchor Fly: To the very end of your 3X or 4X tippet, tie on your heaviest nymph – your anchor fly. A heavily weighted tungsten bead-head nymph (e.g., a #16 Copper John or a #14 Pat's Rubber Legs) is an excellent choice. Use a strong knot like an improved clinch knot or a Davy knot. This fly's weight will help pull the entire rig down.
- Dropper Fly: Now, cut about 12-18 inches of finer tippet (5X or 6X fluorocarbon). Tie one end of this to the bend of the hook of your anchor fly. This is called a "tag off the bend" or "direct tie" method. To the other end of this finer tippet, tie your second, usually smaller and lighter, nymph (e.g., a #20 Zebra Midge or a #18 Pheasant Tail). This method creates a natural presentation where the second fly trails behind the first. Alternatively, you can tie your heavier anchor fly to a tag off a blood knot in your leader, and then tie your lighter fly to the end of the leader. The choice depends on personal preference and current conditions.
Once your flies are tied, it's time to add any necessary split shot or tungsten putty. Place this weight about 10-12 inches above your anchor fly. The exact amount will depend on the current speed and depth. Start with a few small split shot (e.g., two BB size) and observe your drift. You want your flies to tick the bottom occasionally without constantly snagging. If they're drifting too high, add more weight. If you're constantly snagging, reduce the weight or adjust your indicator depth. This iterative process is a core part of effective deep nymphing.
Step 3: Troubleshooting and Fine-Tuning Your Rig on the Water
Even with a perfectly tied rig, the river will throw you curveballs. Conditions change, and so should your setup. The key to consistent success is constant adjustment.
- Adjusting Depth: If you're not hitting bottom at all, slide your indicator further up your leader (increasing the distance between the indicator and your flies). If you're constantly snagging, slide it down (decreasing the distance). Remember the 1.5-2x depth rule as a starting point, but let the river tell you what it truly needs.
- Adding/Removing Weight: Observe your drift. Are your flies sinking fast enough? Are they getting washed downstream without getting deep? Add more split shot. Are you dragging bottom too much, leading to snags? Remove some weight. This is where a small split shot dispenser comes in handy.
- Reading Your Indicator: A subtle twitch, a hesitation, or even an upstream movement of your indicator can signal a take. Don't wait for it to be ripped under. Set the hook quickly and decisively. For more on this, our guide on Nymphing Techniques for Colorado Tailwaters offers deeper insights.
| Weight Type | Common Size Range | Ideal Depth/Current | Pros | Cons |
|---|---|---|---|---|
| Split Shot | BB to 1/0 | Variable; excellent for quick adjustments | Easy to add/remove, inexpensive, widely available | Can crimp leader, can snag on rocky bottoms |
| Tungsten Putty | Various amounts, often 1-2g portions | Variable; great for subtle changes | Malleable, non-toxic, doesn't damage leader | Can be messy, harder to adjust quickly than split shot |
| Tungsten Bead Fly | #14 to #22 | Most versatile, less external weight needed | Sinks fast, natural profile, adds another "fly" | Can be expensive, limited by fly pattern |
Mastering the Presentation and Reading the Water
Having the right rig is only half the battle. Presenting it naturally and understanding where trout hold are equally vital for success on Colorado's challenging waters.
The Art of Casting and Mending for a Natural Drift
Casting a heavy nymph rig can feel awkward at first, especially if you're used to dry fly fishing. The goal isn't distance, but accuracy and a soft presentation. A simple roll cast or a lob cast can often be more effective than a traditional overhead cast, especially in tight quarters or when you want to avoid slapping the water. The key is to let the weight of the flies and split shot load your rod, rather than trying to power through the cast.
Once your rig is in the water, the real work begins: mending. Mending is the act of repositioning your fly line on the water to eliminate drag and ensure your flies drift at the same speed as the current, presenting naturally to the fish. In deep tailwaters with complex currents, this means frequent, subtle upstream mends to feed slack into your drift. Watch your indicator; if it's dragging faster or slower than the surface currents around it, you need to mend. Over-mending, however, can also be detrimental, as it can lift your flies off the bottom or pull them unnaturally. It's a delicate dance, but mastering it is fundamental to successful nymphing. Our guide on Reading Water on a Colorado Freestone River has principles that easily translate to understanding current dynamics on tailwaters.
Identifying Productive Lies in Deep Runs
Trout, especially larger ones, are rarely found in haphazard locations. They seek out "lies" – spots that offer a combination of food, cover, and reduced current. In deep tailwaters, these lies are often subtle and require a keen eye to spot.
Look for seams where fast current meets slower water, often behind large rocks or underwater structures. The slower water provides a resting area, while the adjacent fast water acts as a food conveyor belt. Deeper pockets below riffles or abrupt changes in the riverbed are also prime spots. Don't overlook the edges of the main current, especially where a distinct color change in the water might indicate a drop-off or deeper channel. During colder months, trout tend to hold in the deepest, slowest pools. If you're planning on Winter Fishing on Colorado's Tailwaters, targeting these deep, slow spots is crucial. Sometimes, understanding Best Time of Day to Fish a Colorado Tailwater in Summer can also clue you into where fish might be holding based on light and temperature.
Troubleshooting Common Deep Nymphing Issues
Even seasoned anglers encounter challenges. Here are a few common issues and how to troubleshoot them:
- Constant Snagging: If you're consistently getting hung up, your flies are too deep or you have too much weight. Adjust your indicator higher on the leader, or remove a small piece of split shot. You might also be drifting into snaggier parts of the river.
- Not Feeling Anything (No Takes, No Bottom Ticks): Your flies aren't getting deep enough, or they're drifting unnaturally. Add more weight, adjust your indicator lower, or try a heavier anchor fly. Check your mending; too much drag will prevent your flies from sinking properly. Consider if you're matching the local insect activity – our article on Matching the Hatch on Colorado's Tailwaters can help.
- Missing Strikes: Trout in clear tailwaters can be incredibly subtle. Sometimes, all you see is a slight pause or a tiny dip of the indicator. You might also feel a faint tap. Set the hook! If you're consistently missing, try a more sensitive indicator or reduce the length of your leader to improve direct contact with your flies.
- Twisted Leader: This often happens when you're using too much weight with too short of a leader, or if your casting motion is too abrupt. Lengthen your leader, reduce weight, or smooth out your cast. Checking your knots and making sure your tippet is fresh is always a good idea. Consider the water temperature as well; How Water Temperature Affects Trout Feeding can influence how aggressively trout take a fly, impacting strike detection.
Deep nymphing requires patience and persistence, but the rewards of hooking into a healthy Colorado tailwater trout that few others can reach are absolutely worth the effort. Knowing Colorado's Gold Medal Water Regulations Explained will also help you understand any specific rules that might apply to the area you are fishing.
Disclaimer
The information provided in this guide is for general informational purposes only. Fishing conditions and regulations in Colorado can change, and it is the angler's responsibility to review and comply with all current Colorado Parks and Wildlife regulations and local guidelines before fishing. Always prioritize safety and practice ethical angling techniques.